DIY tips: clean varnishing of MDF ends
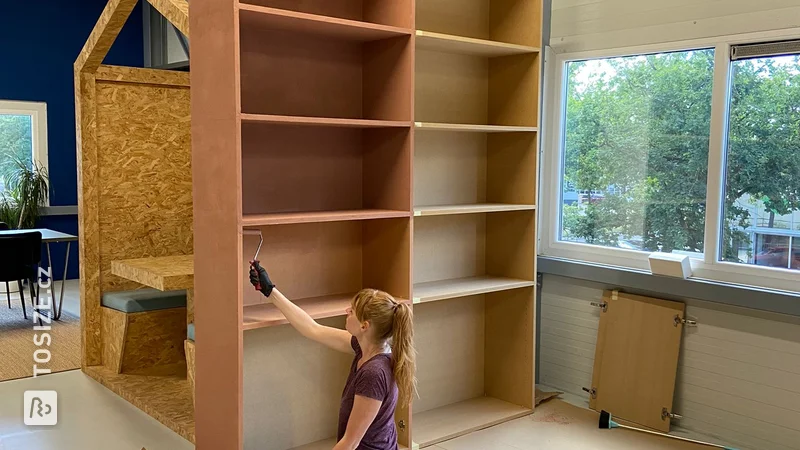
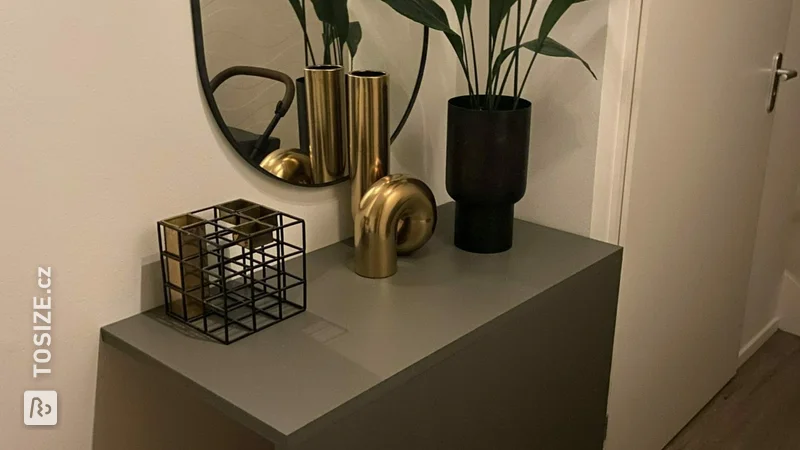
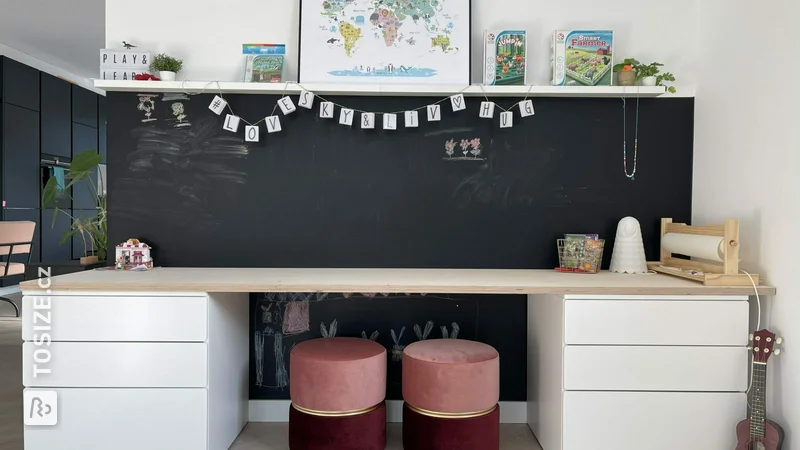
You've created your own design, had the parts cut at TOSIZE.cz and you're ready to assemble and finish the project. But how do you make sure that the ends turn out nice? Especially if you use MDF lacquer-carrying, you have a nice surface to paint, but the end edges, of course, do not have this lacquer-carrying film. How do you tackle this?
Everything starts with sanding
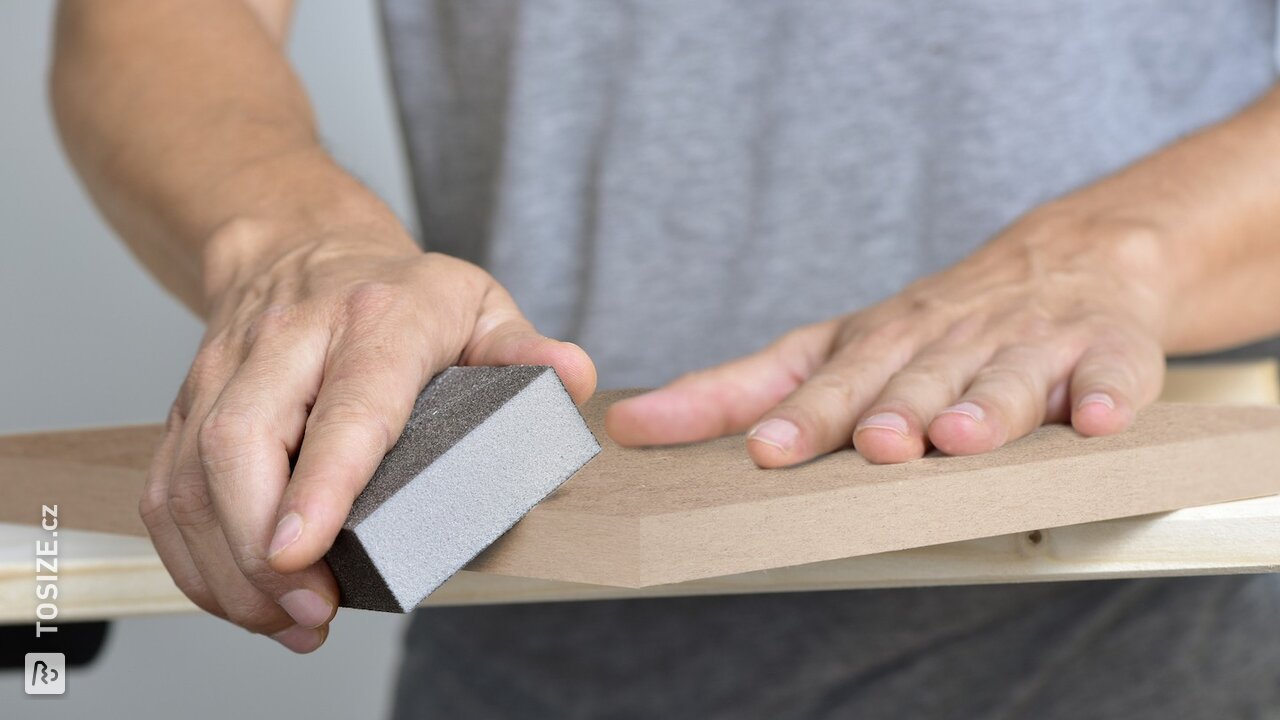
It starts with a good sanding of the end edges. Make sure it no longer feels rough, but nice and smooth. When sanding material, it is very important that you always keep feeling! Every unevenness you feel will show up in the coating later on. You can sand the ends beautifully by hand. To prevent scratches, a fine grit (180) is best for this. It is useful to use a sanding pad for this, so that the pressure is distributed evenly. Are the edges round or milled into another shape? Then take this (small) edge with you as well.
The use of edge sealers
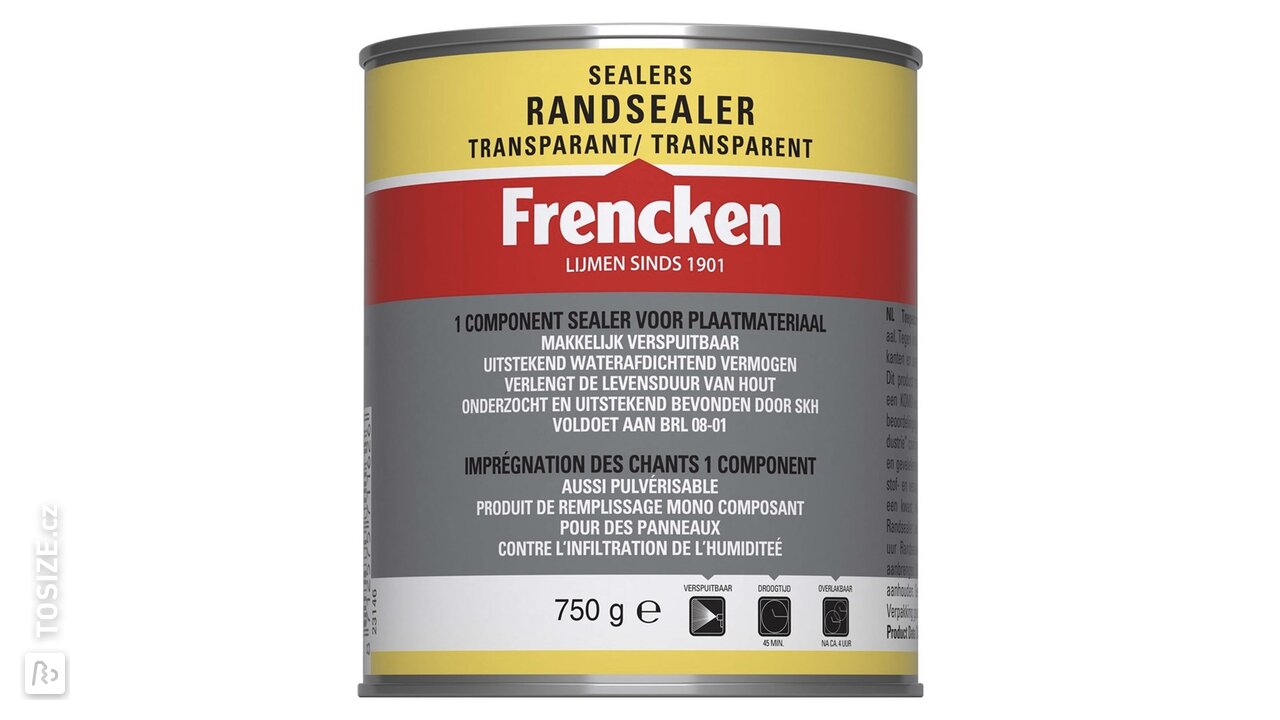
After sanding, you can apply the lacquer to the ends, but you will see that these porous parts absorb the lacquer very strongly. Porous parts also include milled edges and slots. If you want to treat many of these porous parts, it will take a lot of time! It is also a waste of expensive varnish. That is why there is so-called edge sealer (for example from the Frencken brand) as a pre-treatment. This sealer seals the edge completely, so it is also resistant to wood rot. Use one layer to get the edge nice and smooth and two layers to make the edge really waterproof. You do this for example when you use waterproof MDF for outdoor use. After the edge sealer you sand the end side one more time (feel if it feels smooth again) and then you are ready for the final layer of lacquer. You can also use primer first, but this is only necessary if the material really has to be made watertight. You will notice that after one or two coats of varnish you get a nice covering result, just like the surface that still has the varnish carrier film.
Treat the ends with wood glue or varnish filler
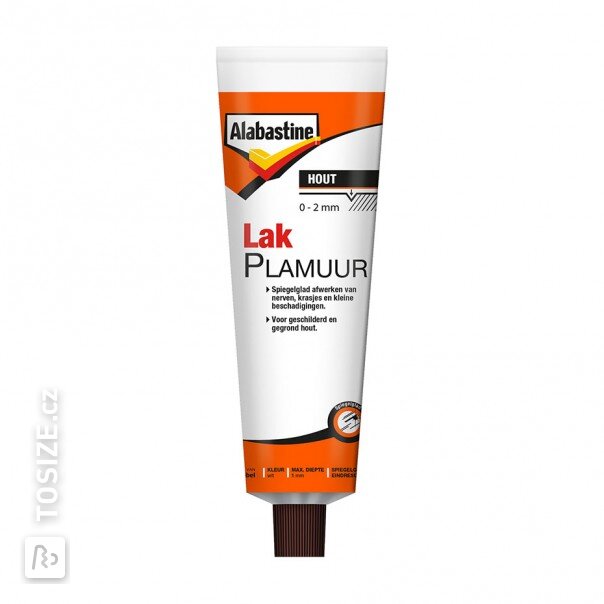
Sometimes it is not necessary to buy a pot of edge sealer. For example, if you don't have that much material to treat and if it's for an indoor project in a dry area. You can choose to apply several coats of lacquer, but even then it may happen that the end side looks less smooth because of the porous structure. It is therefore advisable to apply the first layers with thinned lacquer. In order to reduce the absorbing effect of the ends, you can also use some wood glue or varnish filler. Dilute the wood glue with a few drops of water and apply with your finger or a brush. You do not have to dilute lacquer putty and it is best applied with a spatula. After it has cured, you can sand it with a fine grain (maximum 180). Then you are ready for the paint job!
