- TOSIZE.cz
- Do it yourself
- DIY Projects
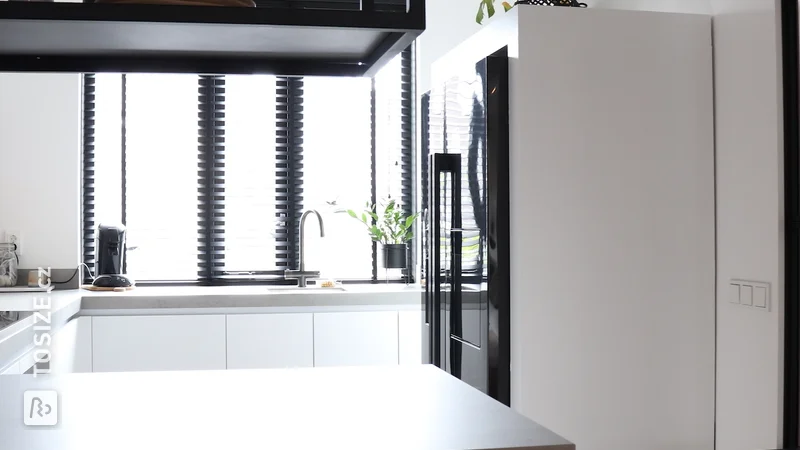
Super sleek conversion for American refrigerator, by Erik


Create this project yourself with sheet material cut to size by TOSIZE.cz!
Erik
Average
2 minutes
Description
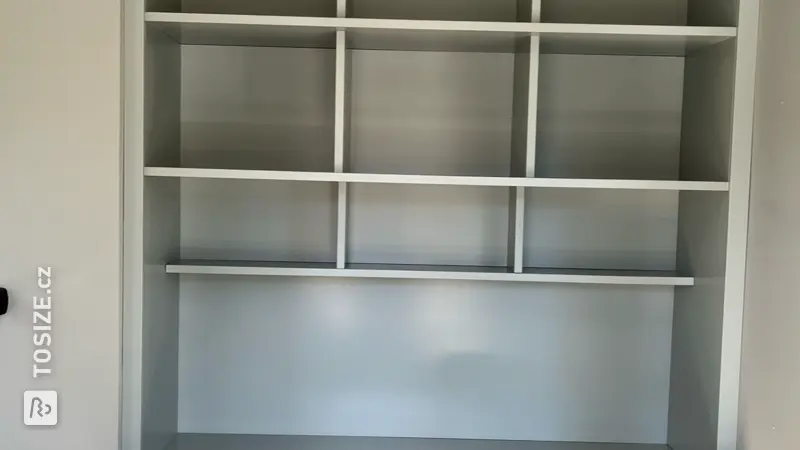
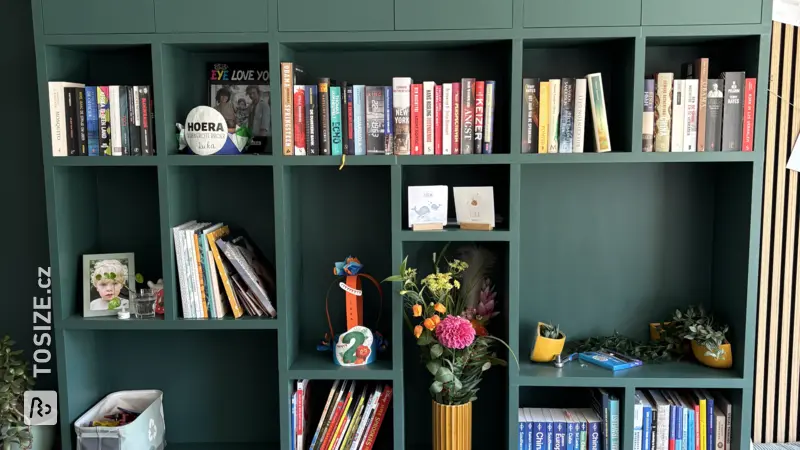
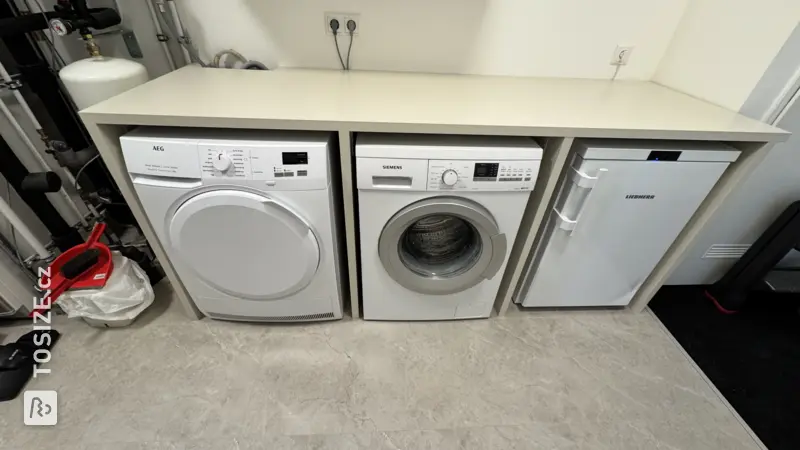
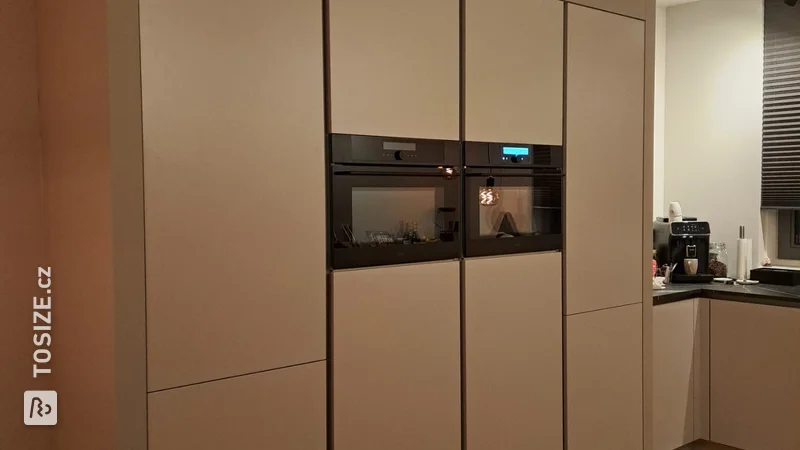
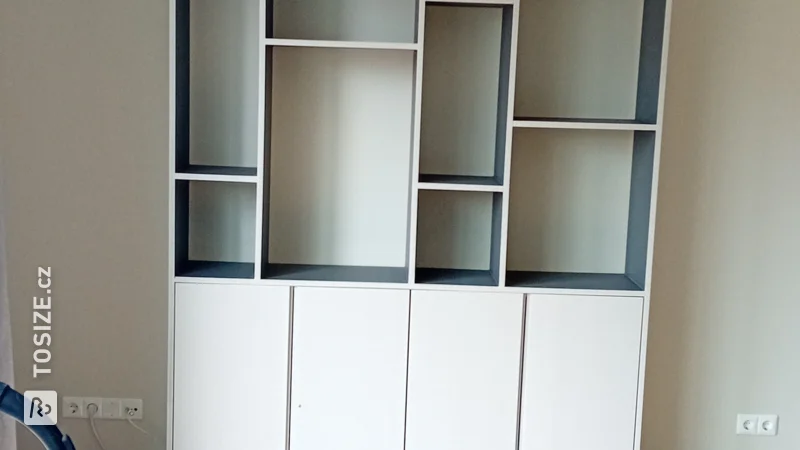
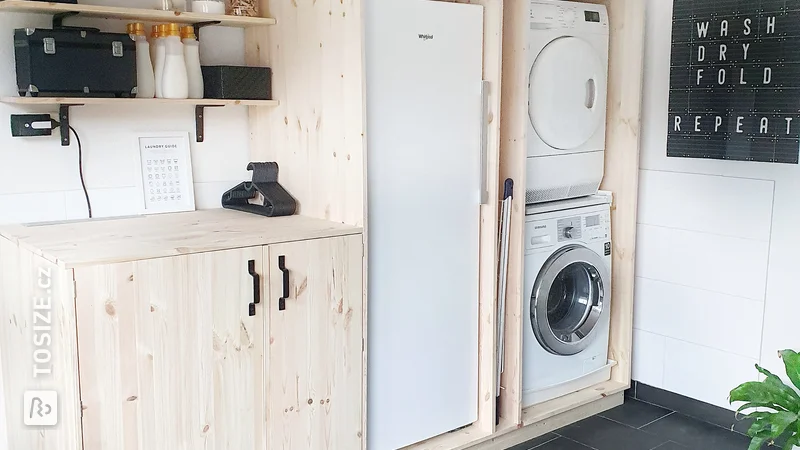
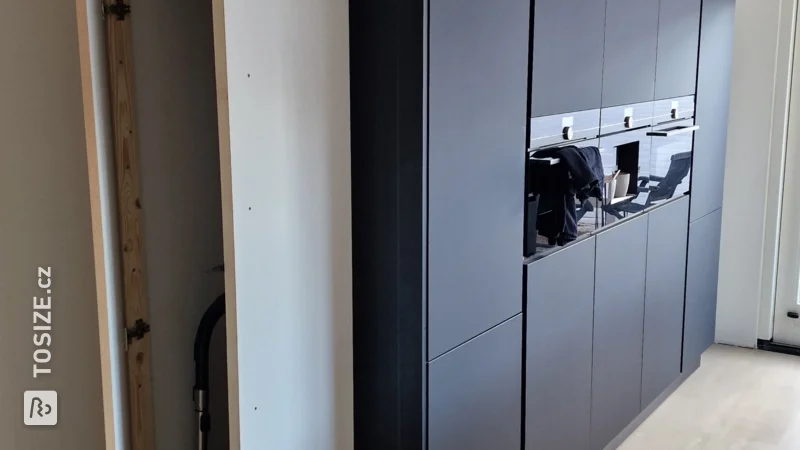
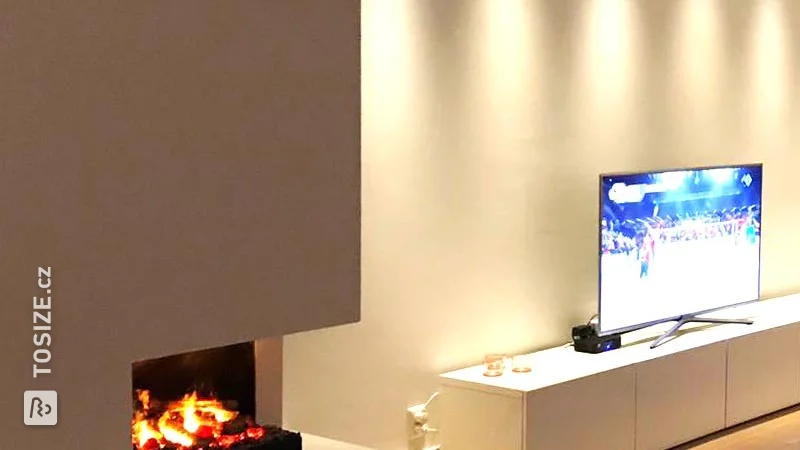
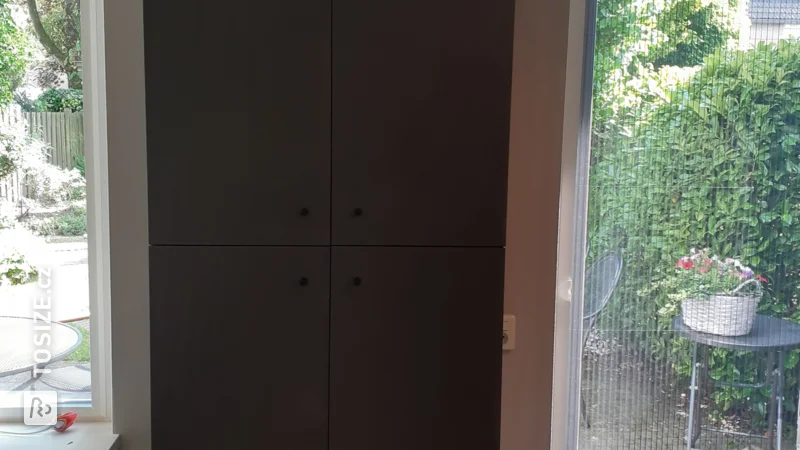
Conversion for an American refrigerator with extra cupboard space next to it. We needed some extra cupboard space and therefore immediately concealed the refrigerator. This immediately makes a difference in the noise (because the refrigerator sometimes makes strange noises).
Custom refrigerator conversion
Started with a drawing in Sketchup. The dimensions of the refrigerator are taken into account, with an additional 15mm between them on all sides. The total width of the cabinet had to be equal to a wall opposite the cabinet. So the rest was for the cupboard space.
The visible sides of the MDF were thickened with extra slats.
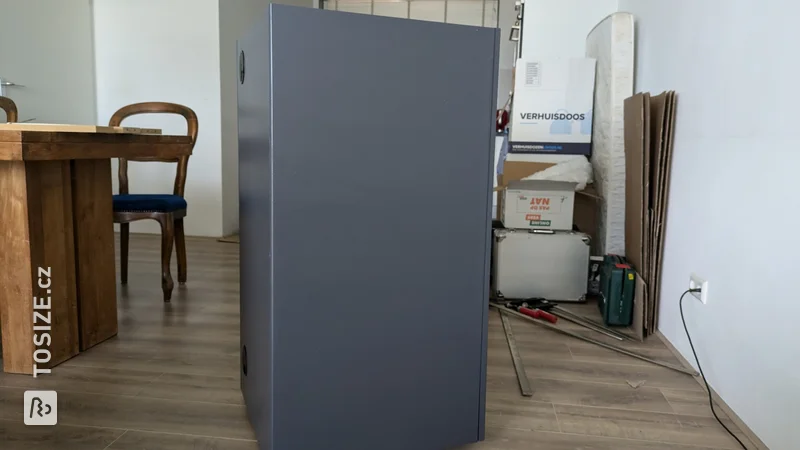
I opted for 18mm primed MDF. This makes a huge difference when it comes to painting because these are quite large areas. It is still advisable to paint parts that are in sight with primer again before starting to work with the final paint. The cabinet has been finished with a high-gloss finish three times.
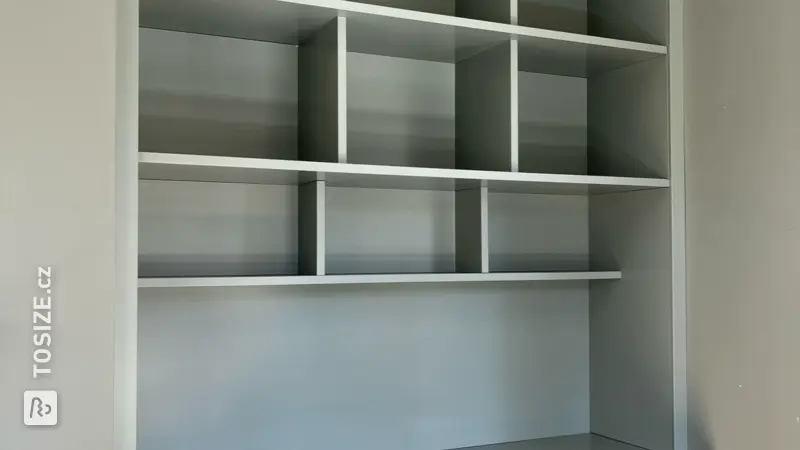
We opted for plywood for the shelves, as it can carry a little more than MDF, especially with a width of 90.0. Originally decided to attach the planks with dowels, but in the end I ordered extra slats to attach under the planks and then screw the planks onto them. This is sturdier and easier to align.
The doors fit into the cupboard. MDF is easy to work with, so the edges are rounded by hand sanding.
We used Blum 71B3750 for hinges and Blum 173H7100 for the hinge plate. This has an extra adjustment screw which comes in handy. I kept the distance between the doors at 2mm. That is a bit on the tight side if you want to adjust it properly, so I would use a little more margin there next time.
To neatly calculate the total dimensions, I used an Excel sheet. This way you can easily "slide" with the dimensions and the rest is calculated again. This makes it easy to copy the measurements when you order from TOSIZE.cz and you will not make any mistakes. Everything was exactly right when it was delivered!
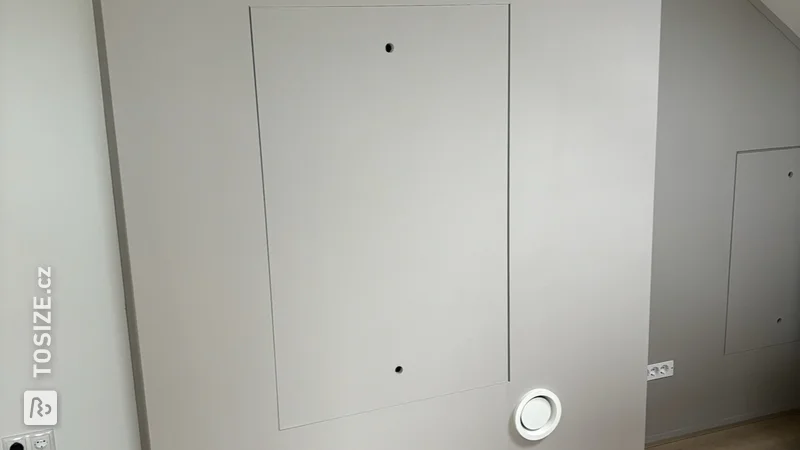
To further strengthen the whole and make the inside look better, a hardboard plate was installed behind the door section. The area behind the refrigerator is open for cooling.
The dimensions of the project
The total cabinet is 192.0 wide by 180.0 high.
Tip! Also check out our handy DIY tips!
What now?
Want to make this DIY project? Check out Erik's saw list and complete your order easily.
CZK 11,554.84
All materials used
View all sheet materials

