- TOSIZE.cz
- Do it yourself
- DIY Projects
Custom-made acoustic panels made of MDF (Metisse sound insulation), by Jasper
Custom-made acoustic panels made of MDF (Metisse sound insulation), by Jasper
Create this project yourself with sheet material cut to size by TOSIZE.cz!
Jasper
Easy
3 minutes
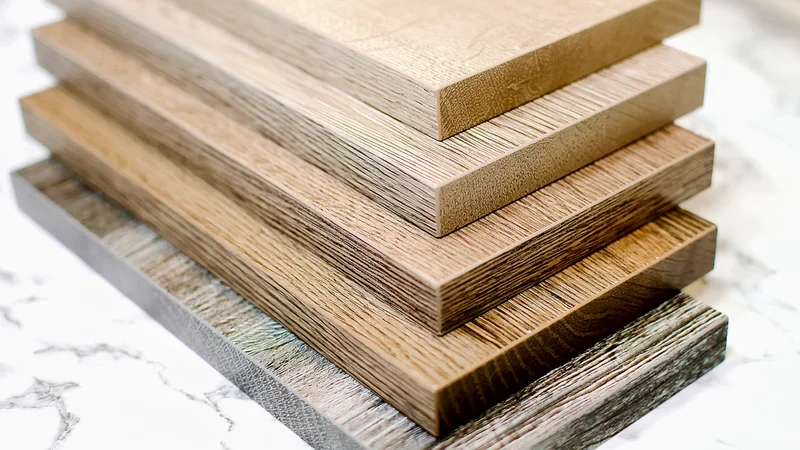
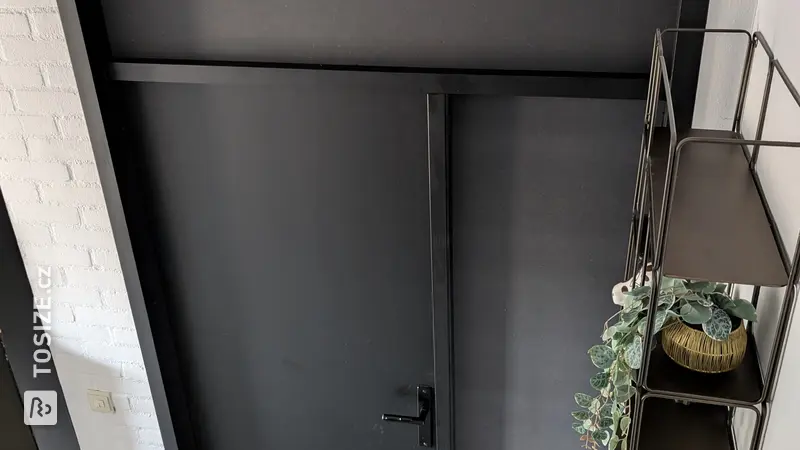
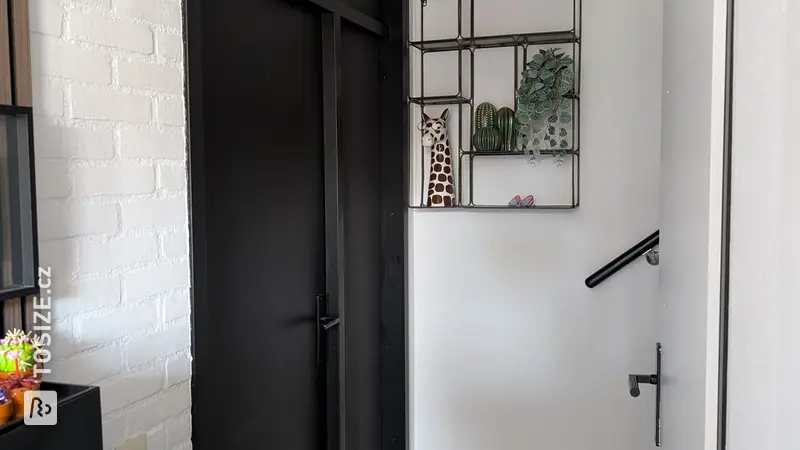
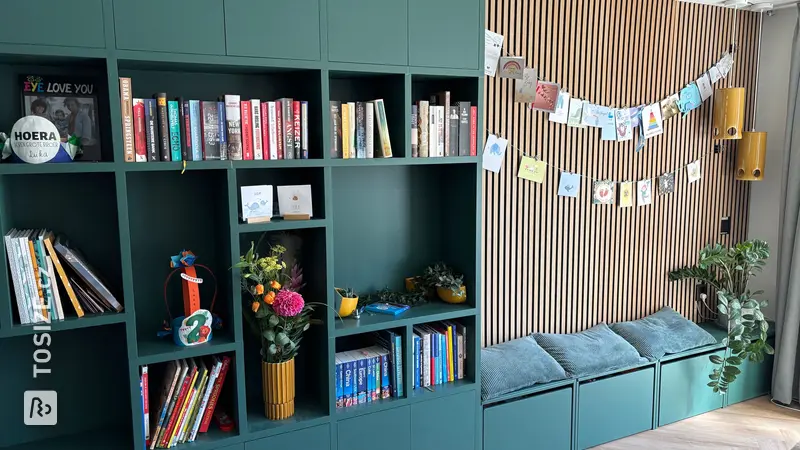
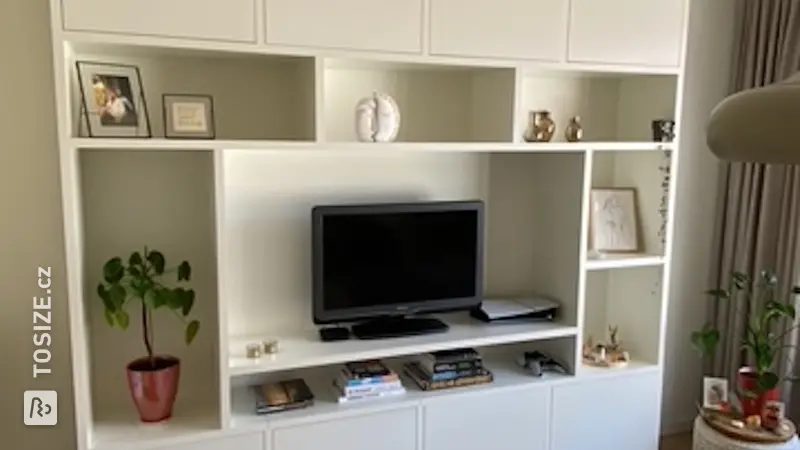
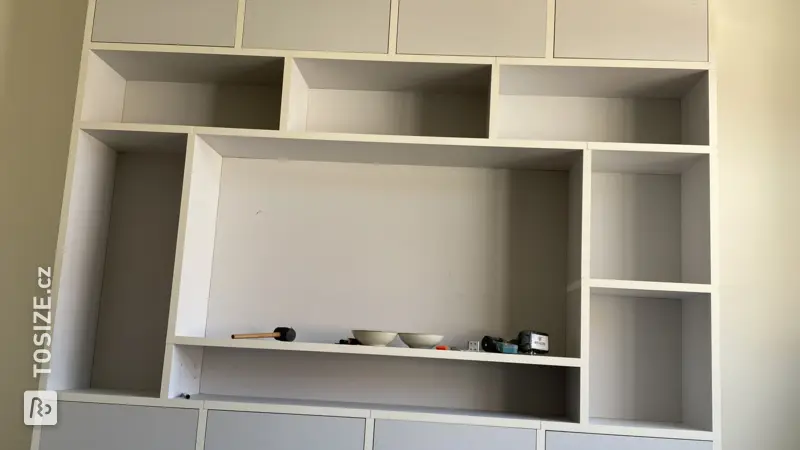
To improve the acoustics of a room, acoustic panels are a solution. And you can also make this yourself, as Jasper shows in this DIY project. He explains in detail how best to approach this with sawn MDF.
Description by Jasper
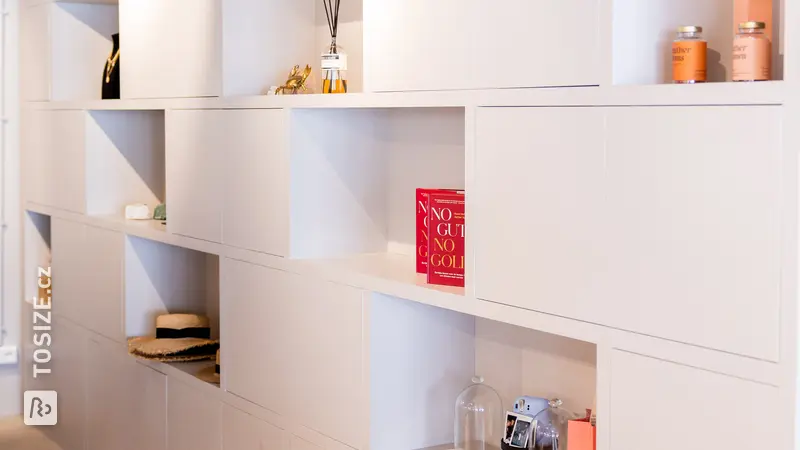
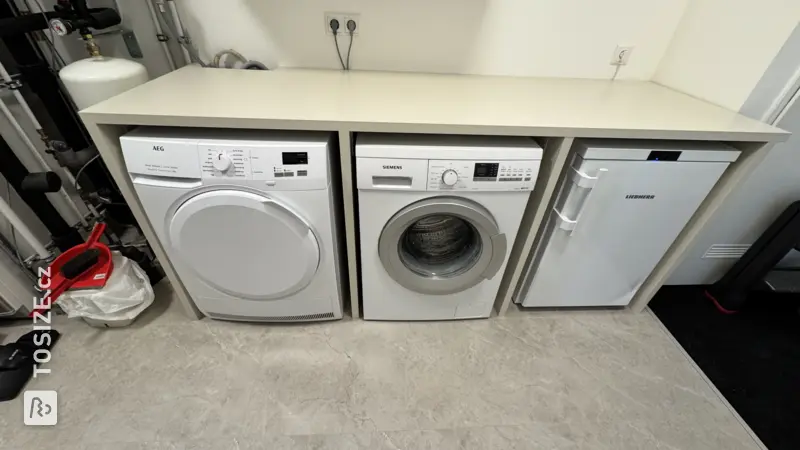
The rooms in a house are not ideal acoustically. Acoustic panels can reduce the reverberation in a room, making the sound (music) sound better.
How I made this project
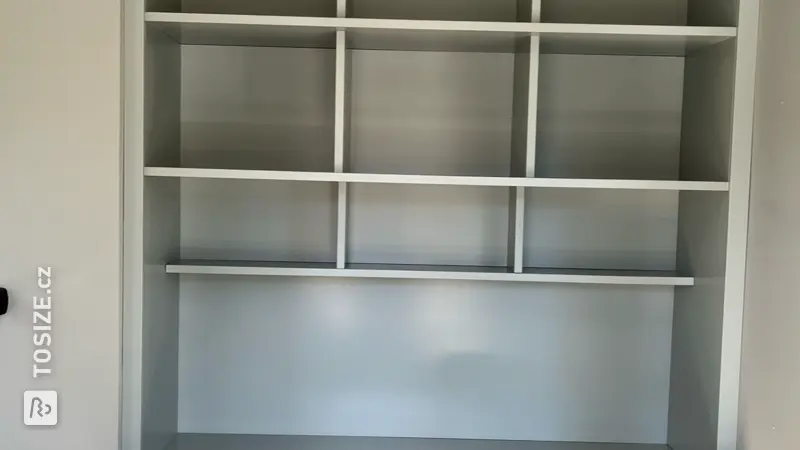
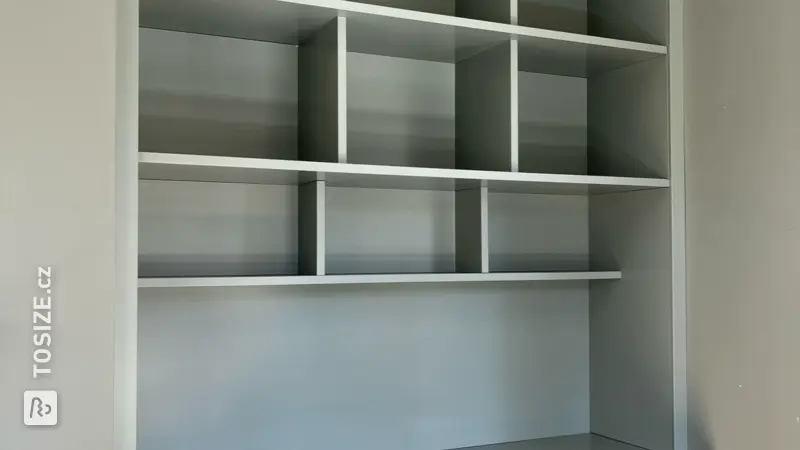
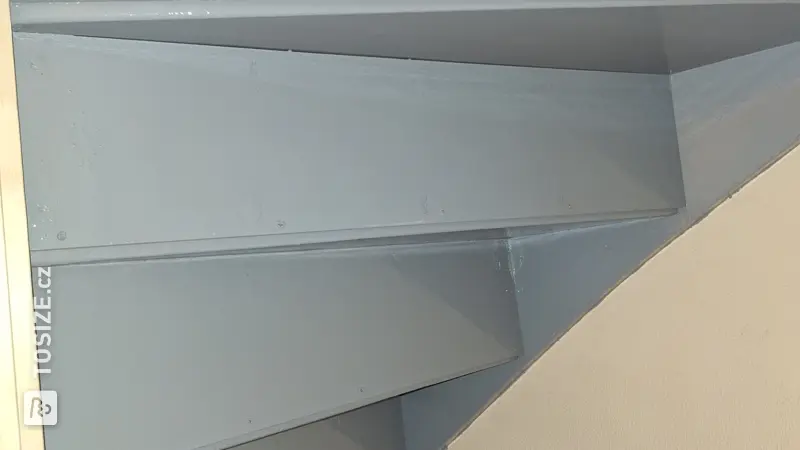
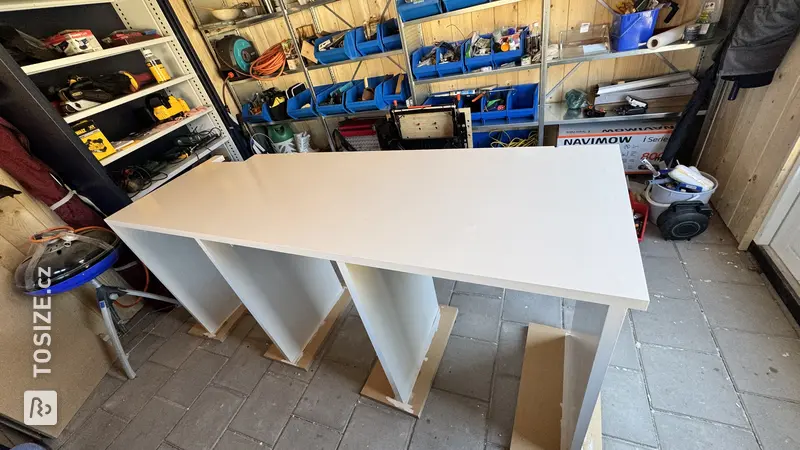
1. Connect the outer lengths together to create a frame. Use glue and screws (pre-drill first).
2. Mount the reinforcement plates in the frame to create a kind of container with an open back. Use glue and screws (pre-drill first).
3. Sand down the raised edges in the screw holes and round the corners slightly to prevent any holes in the cloth.
4. Staple a cloth into the inside of the box so that the sound insulation cannot fall out at the back. This cloth is out of sight so this could be anything.
5. Install a hanging system at the back. I used a cupboard hanging rail for this. Screw one of the desired length to the panel and one inverted to the wall. By letting them fall together, the panel stays in place. An extra piece of wood has created some extra distance between the panel and the wall because this is acoustically better and it looks more spacious.
6. If a hanging system is mounted at the top of the panel, something must be made at the bottom to create the same distance. This was done with wood of the same thickness as step 5 in combination with a screw with rubber sealing tape.
7. Place the sound insulation in the frame (on the cloth).
8. Optional: Staple a number of pieces of elastic ribbon across the sound insulation in the frame so that it does not fall out in step 9.
9. Lay the cloth down neatly and place the frame with the sound insulation in it upside down on the cloth.
10. Start stapling in the middle of a long side and work towards the ends of this long side. Pull the cloth neatly taut after each staple. Then do this on the next longest side.
11. Turn the cloth neatly over with a double fold. If all goes well, the excess length will now fall into the fold and you can get the cloth completely taut in this way. Start in a corner and work from here with staples towards the center of the end edge. Once you have arrived in the middle, start with the next corner of the same end side and work towards the center again. Continue to pull the cloth tight in between.
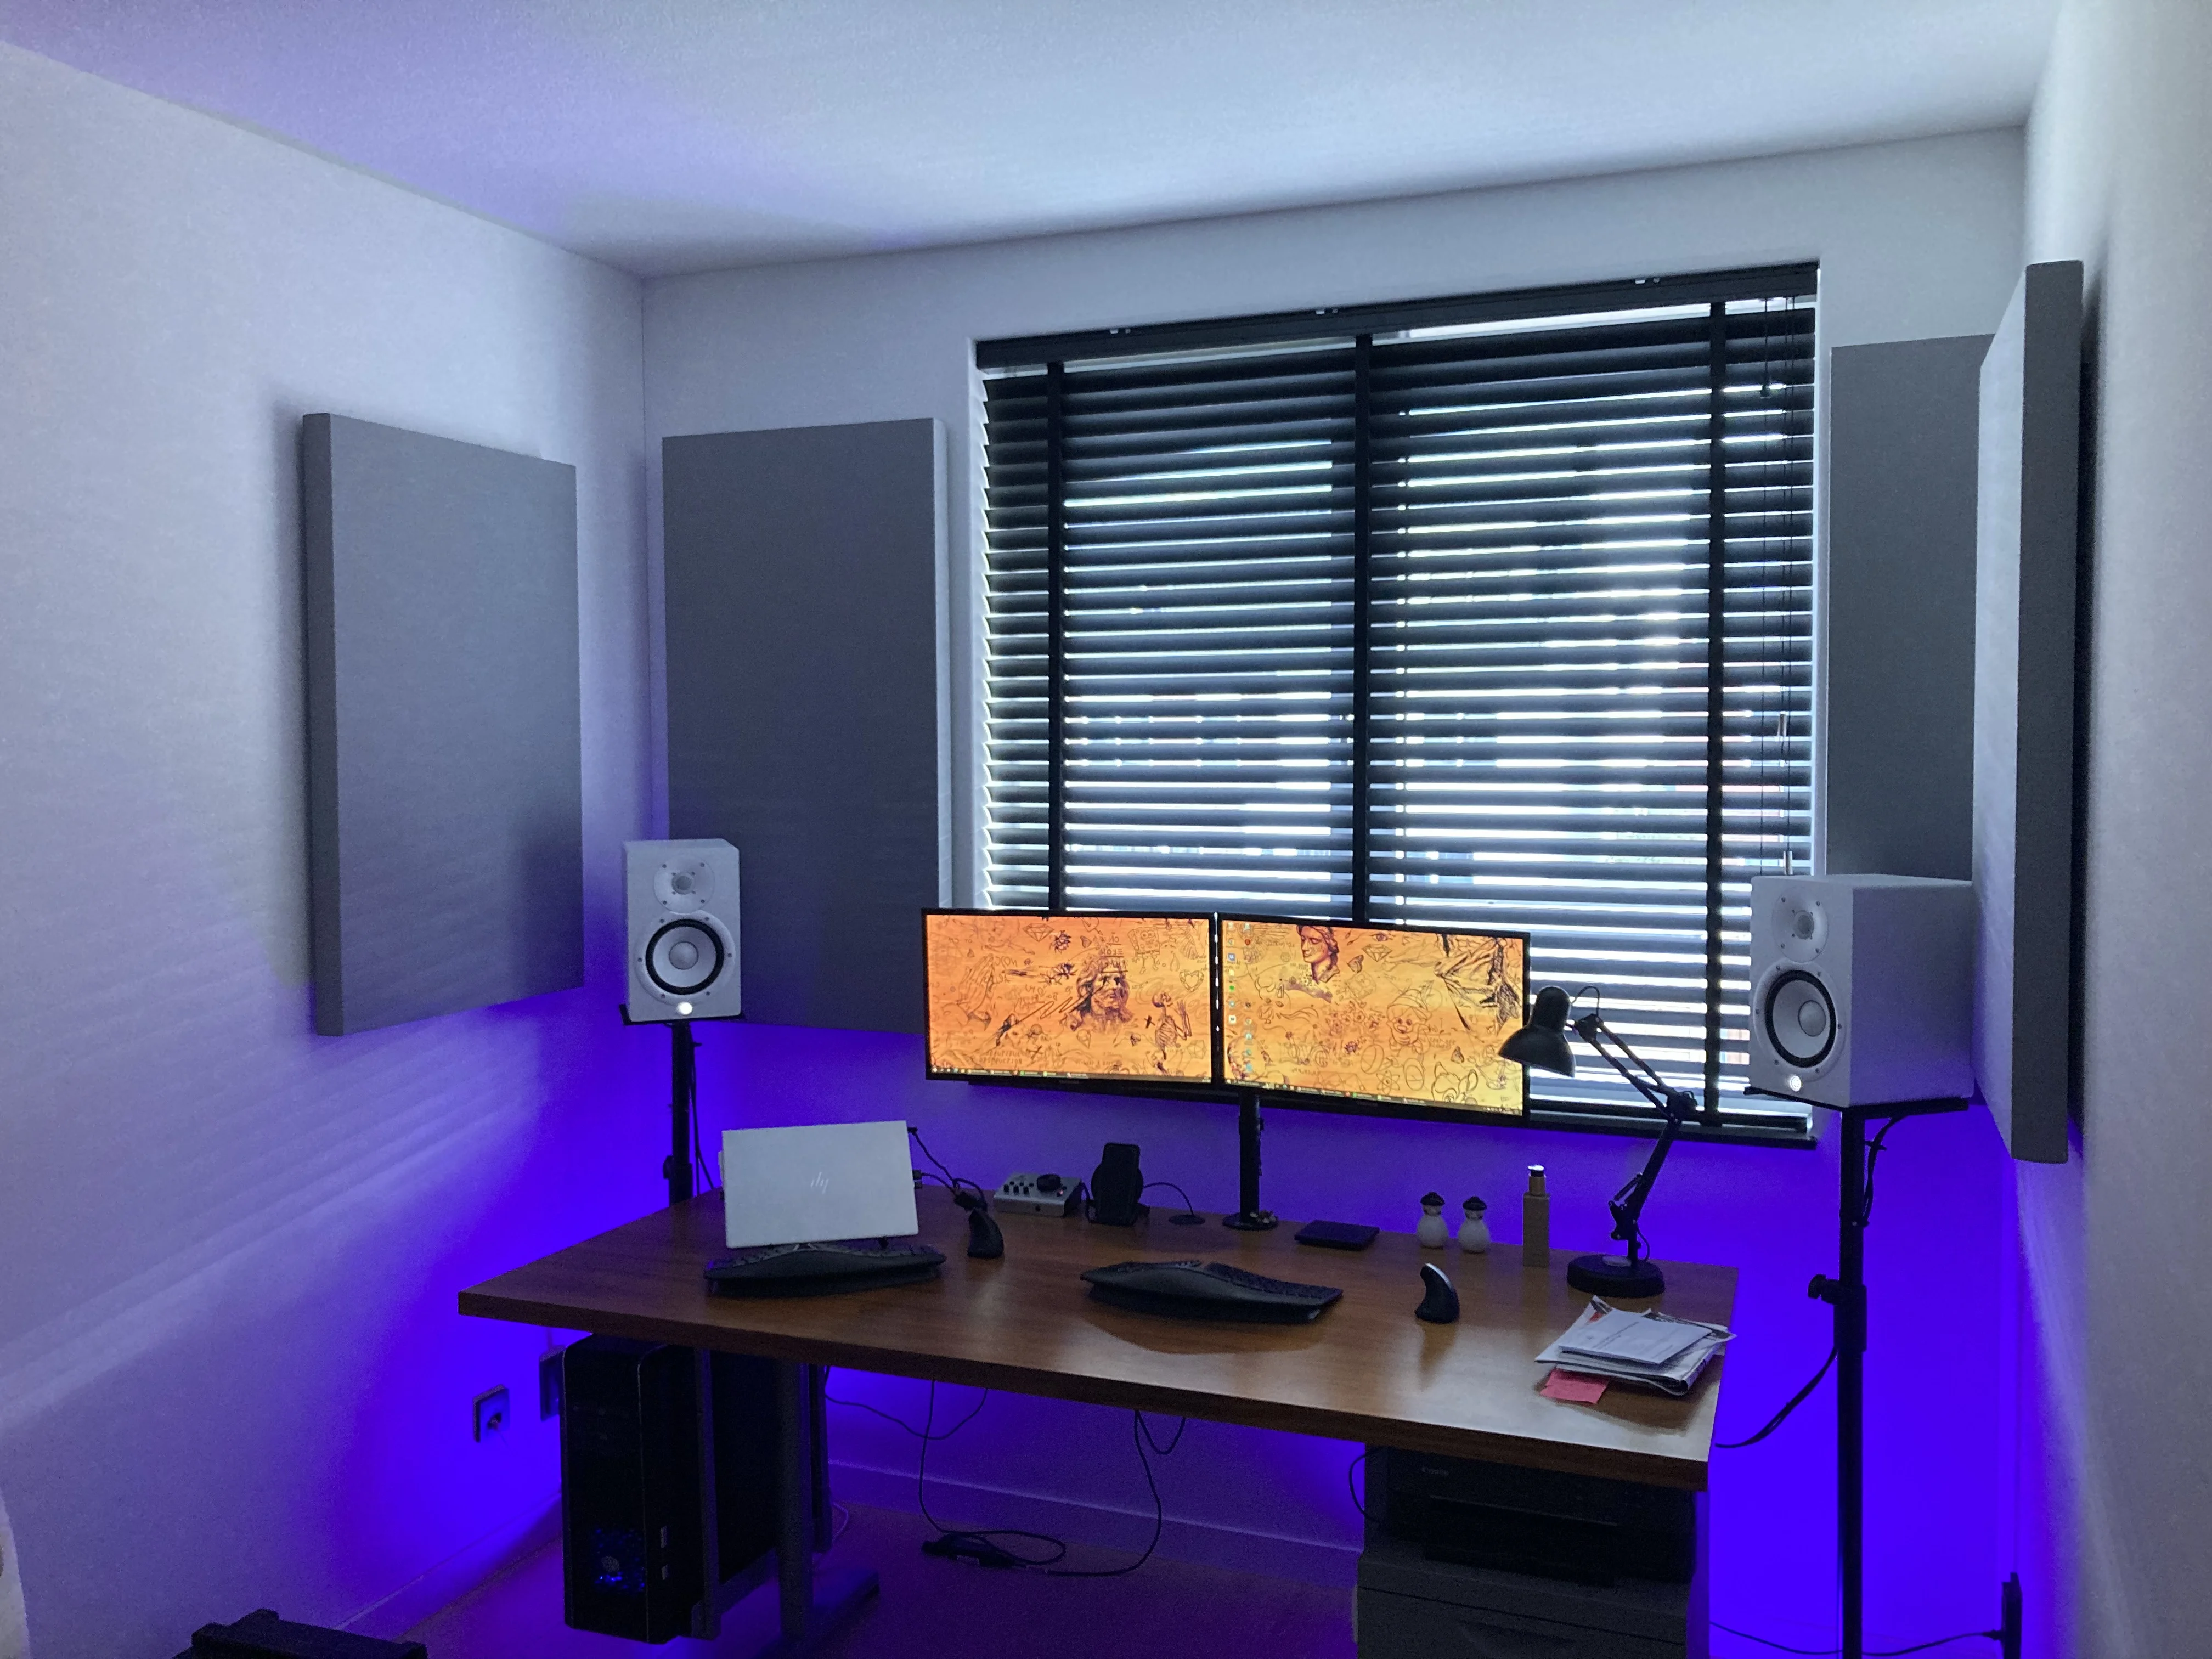
12. Once the cloth has been stapled tightly all around, attach the hanging system to the desired location in the room. Use the correct plugs/screws due to the weight. The panel can now be carefully hung. Enjoy the improved acoustics!
Dimensions of my DIY project
2 times: 104.5 x 64.4 x 5.7 cm lxwxh
2 times: 124, 5 x 64.4 x 5.7 cm lxwxh
1 time: 124.5 x 24.4 x 5.7 cm lxwxh
Tip! Also check out our handy DIY tips!
What now?
Want to make this DIY project? Check out Jasper's saw list and complete your order easily.
CZK 2,228.11
View all sheet materials